
In this post, we'll see how Client Lounge can help you share files with your clients in a professional way.
If you haven't already, we recommend reading our guide "Creating your first portal" to get familiar with our portal editor.
If you’re a freelancer or an agency, I bet some part of your job is sending files to clients.
And most of the time, that still happens through email attachments—which quickly becomes messy.
Maybe you had too many files to attach, so you switched to a cloud-storage link… only for the client to say they don’t use that service. Maybe a client emails you three years later asking for a proposal you sent ages ago, and now you’re both digging through old inboxes. Either way, this workflow creates friction. It’s unorganized, stressful, and definitely not the most professional experience you want to provide.
So… what if you had a dedicated, branded space where your client can securely access every file you’ve ever shared with them?
That’s exactly what Client Lounge offers.
Our client portals let you share files in a way that is:
- Secure: Files are protected behind your Client Lounge portal. Only the clients you invite can access them.
- Organized & long-term: No more files scattered across emails, Google Drive, Dropbox, and random links. Everything lives in one place and stays accessible.
- Effortless: No apps to install, no confusing login flows. You get a simple sharing workflow, and your clients get a clean, intuitive place to retrieve every file.
How to upload files to your customer portal
In order to share files, the first thing you need to do is to access the Client Lounge portal editor. Use this button to do so:
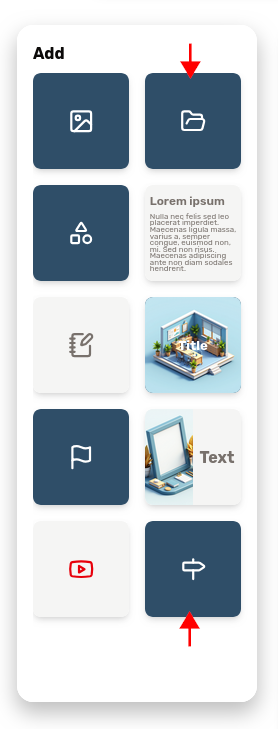
Get StartedTwo blocks can be used to share files:
- the "directory" block: represented by a "folder" icon, this block is dedicated to file sharing. It lets you create a directory, give it a name and add some files to it. An option lets you choose between a simplified grid view and a more detailed list view.
- the "project step" block: represented by a "roadsign" icon, this block is workflow-oriented and useful to let the user know about your work progress. It can be tied to an action of your choice. One of the available actions is file sharing.
If you need help with your portal blocks, learn more about the building blocks of your customer portal.
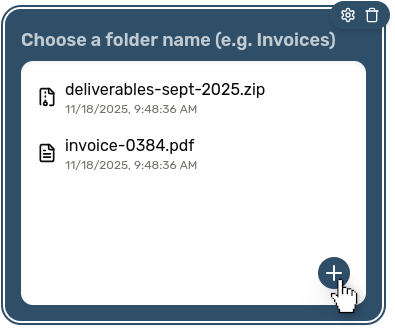
Once you've inserted either one of these blocks, you will be able to upload files to it. You can do it by clicking the "plus" button inside the block, or by dragging files (or even folders) onto it.
Use your dashboard to manage your files
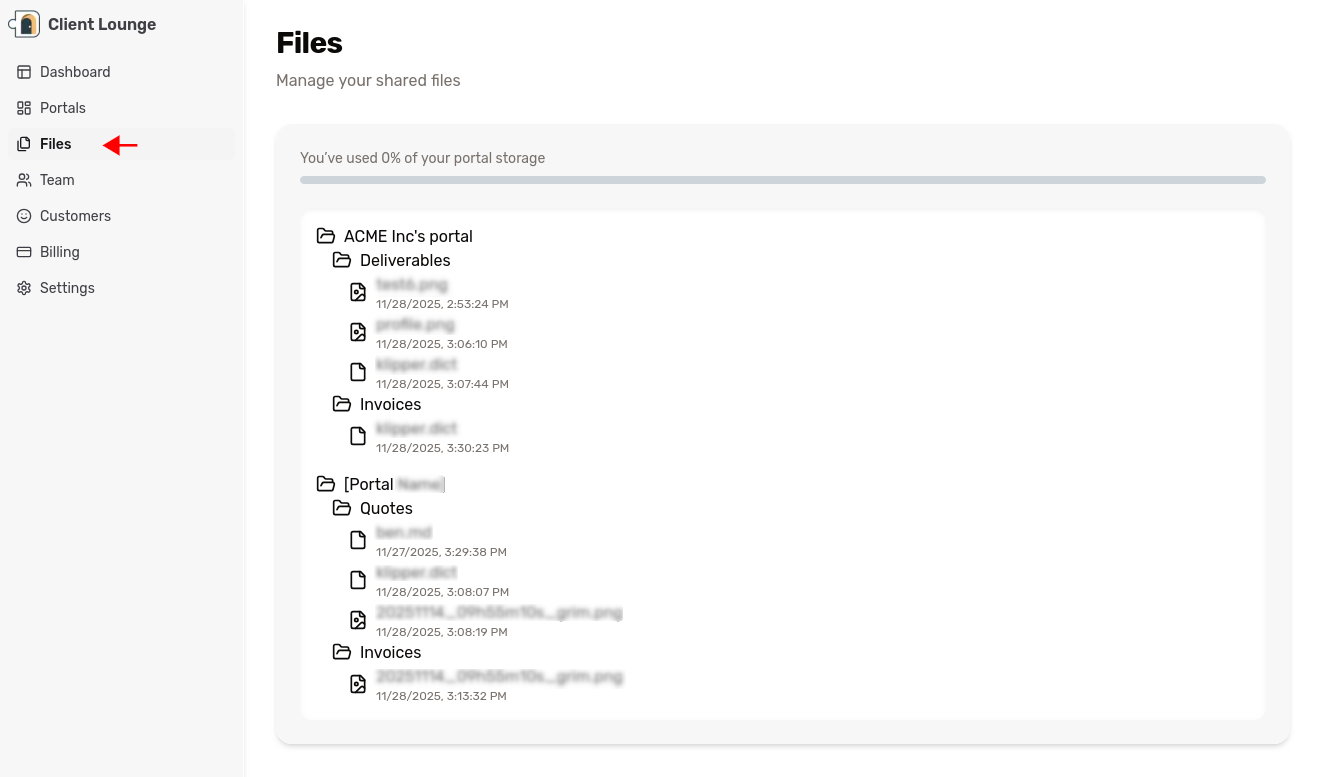
Your dashboard has a dedicated page to manage your files, use the sidebar to access it. It displays the list of your portals with the associated files. It also shows how much of your allowed disk quota you've used.